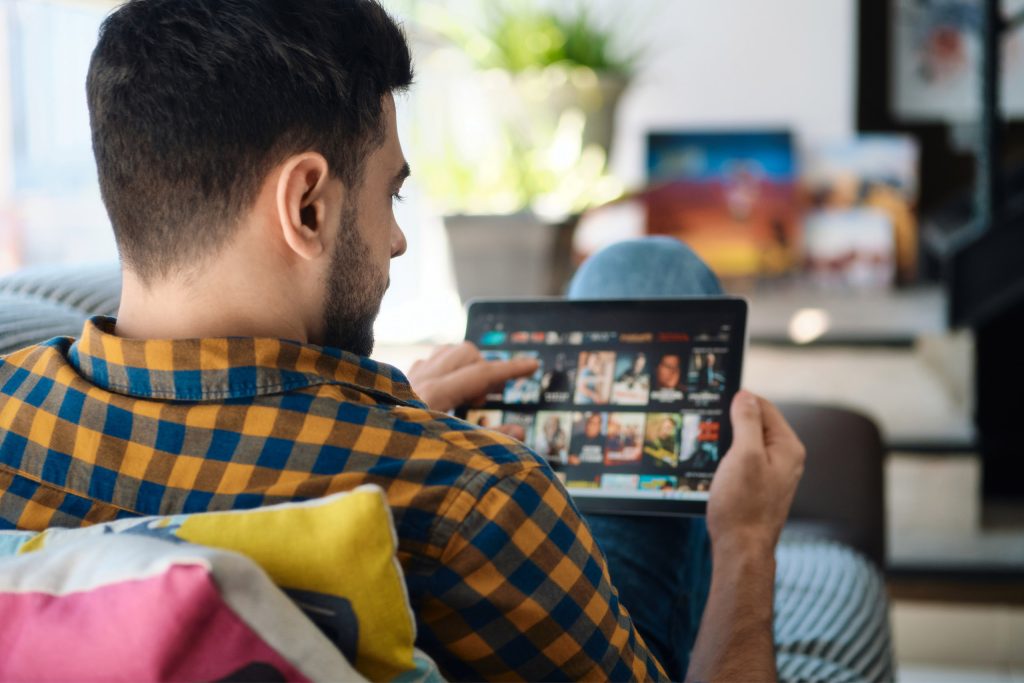
Reddit is one of the most visited websites in the world. If offers vast and diverse communities (called subreddits) that cover everything from breaking news in your city to video games and career advice. In particular, it’s a top destination for sharing opinions and personal experiences related to niche interests.
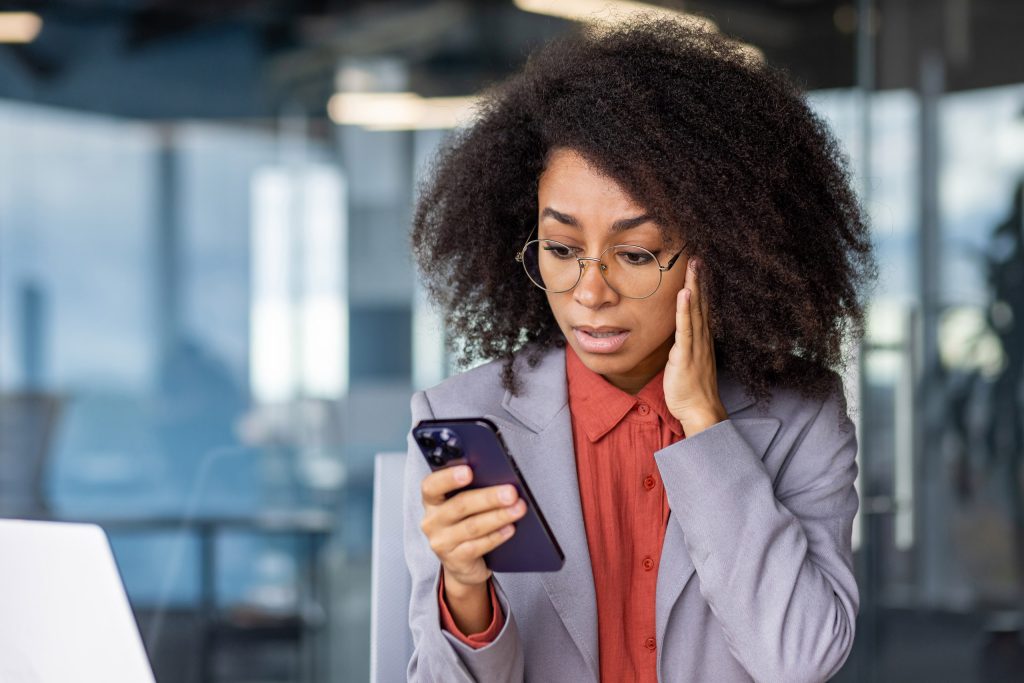
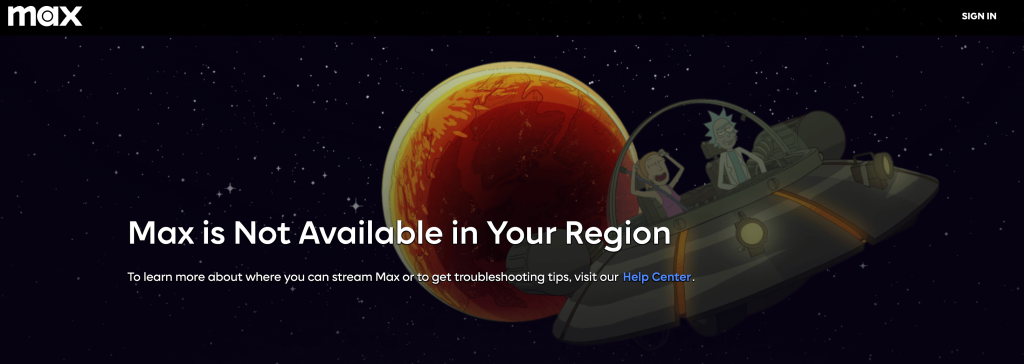
Despite its usefulness, Reddit is frequently blocked at schools, workplaces, and even in some countries.
Luckily, it’s usually straightforward to find a workaround. If you’re looking to regain access, this guide explains why Reddit is often restricted and how to safely and effectively unblock it using a VPN.
A Brief History of Reddit And Why It’s Great for Research
Founded in 2005 by Steve Huffman and Alexis Ohanian, Reddit quickly became the “front page of the internet.” Its name is a play on the phrase “read it.” The alien featured in the logo is a genderless time-traveler named Snoo. Reddit hosts thousands of subreddits where users post content, ask questions, and share knowledge on virtually any topic.
For students, professionals, and researchers, Reddit is a valuable resource. Subreddits like r/AskScience, r/ExplainLikeImFive, and r/DataIsBeautiful offer insights that are often more digestible and practical than traditional academic sources. Reddit’s upvote system highlights the most useful and accurate responses, making it a powerful tool for learning and discovery.
Why Reddit Is Often Blocked at School or Work
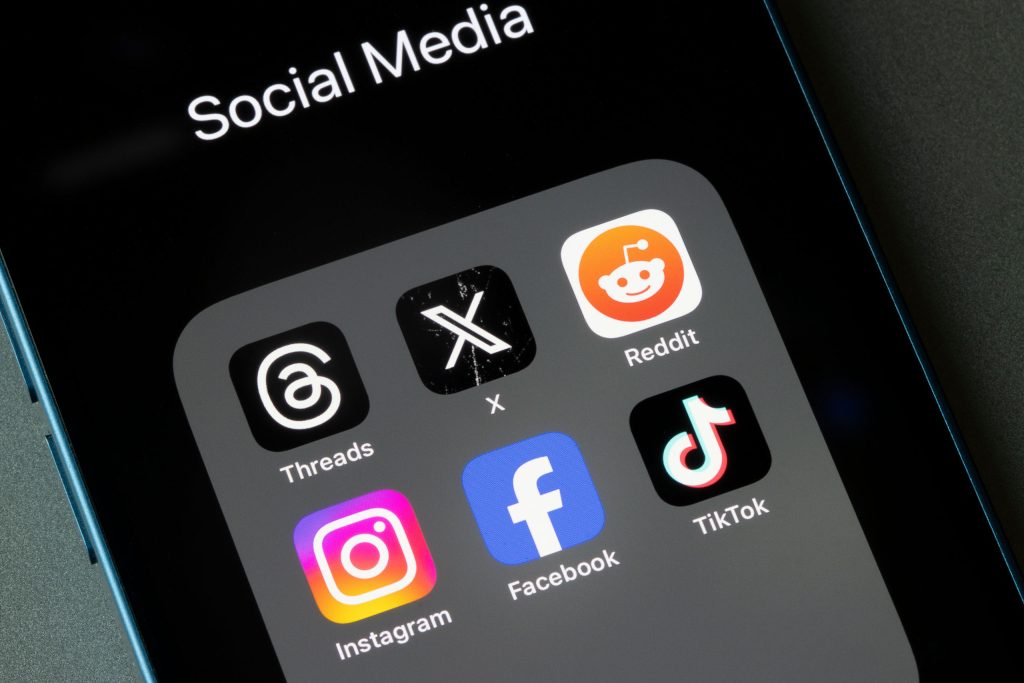
Decision-makers often lump Reddit in with social media apps like Facebook and Instagram. Despite its unique benefits, Reddit is commonly blocked in schools and offices.
The reasons for blocking it include:
- Distraction: Reddit can be addictive, with endless content that can take focus away from work or study.
- NSFW Content: Some subreddits include adult content or material that’s inappropriate in a public setting.
- Bandwidth Usage: In some cases, high traffic from image and video-heavy subreddits can strain network resources.
- Content Moderation Concerns: Because Reddit is community-driven, not all content is vetted or moderated uniformly.
Network administrators often block Reddit using firewalls or DNS restrictions to maintain productivity and a safe browsing environment.
Countries That Block Reddit
Reddit has also faced restrictions or complete bans in several countries, often due to political or cultural reasons.
Here are the countries that block Reddit or have blocked it in the past:
- China: Reddit is fully blocked as part of the country’s broader internet censorship policies.
- Indonesia: Temporarily banned Reddit in the past due to concerns over explicit content.
- Russia: Has issued temporary blocks on certain Reddit pages over drug-related discussions.
- India: Occasionally restricts access to specific subreddits considered offensive.
In these cases, users often turn to Virtual Private Networks (VPNs) to bypass such restrictions.
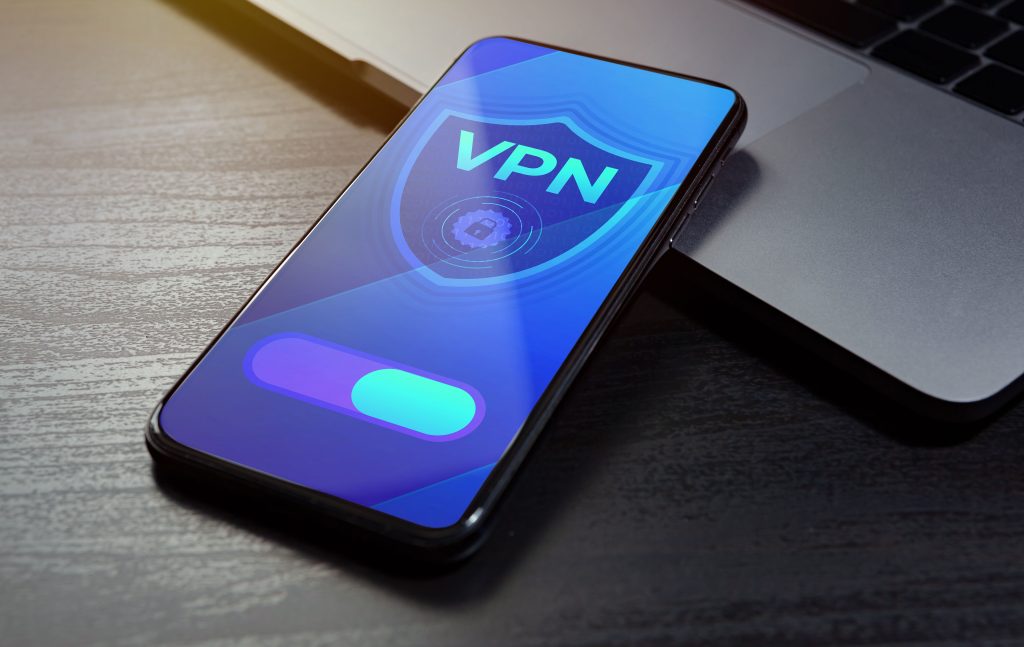
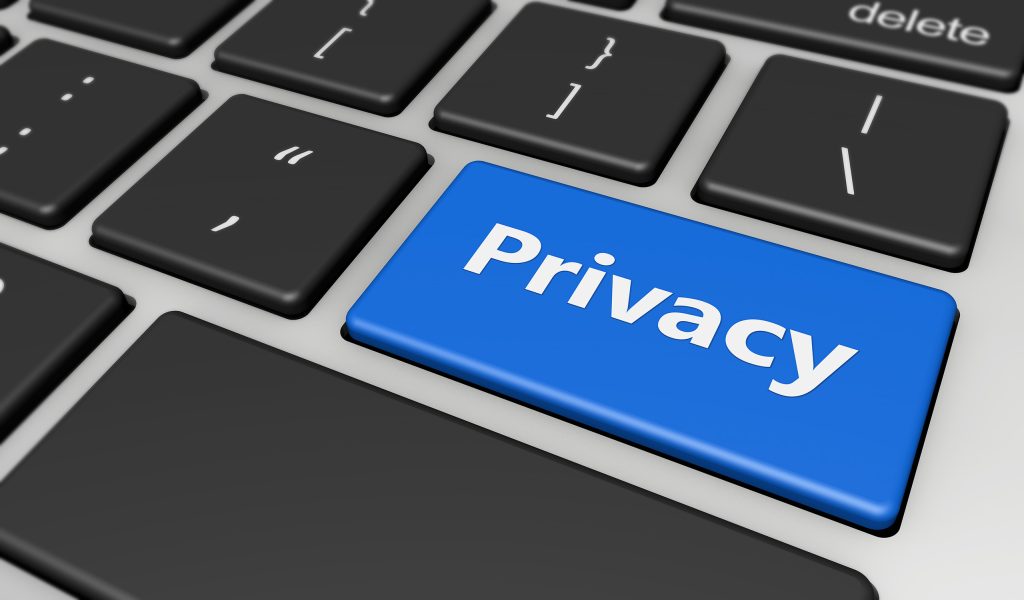
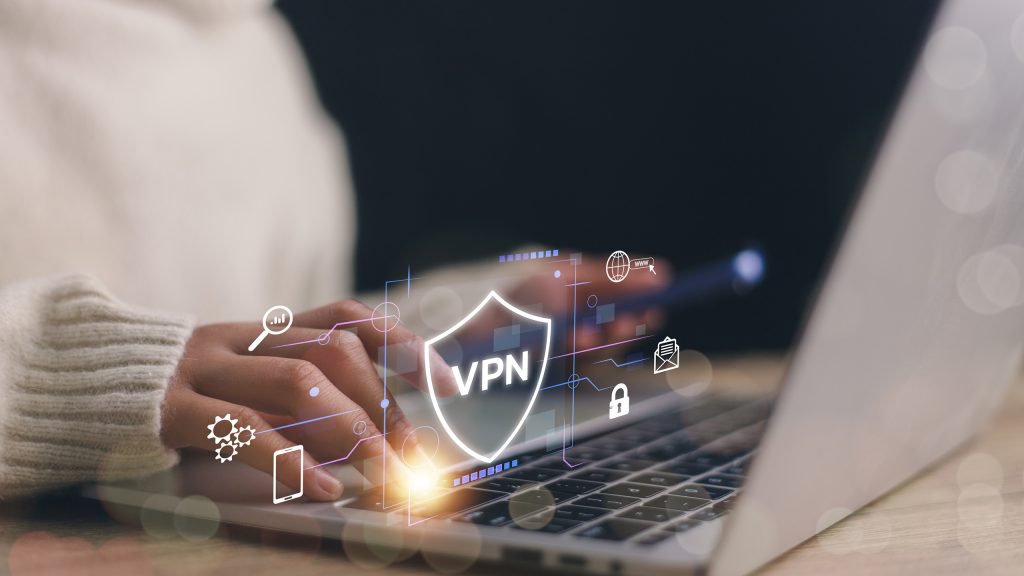
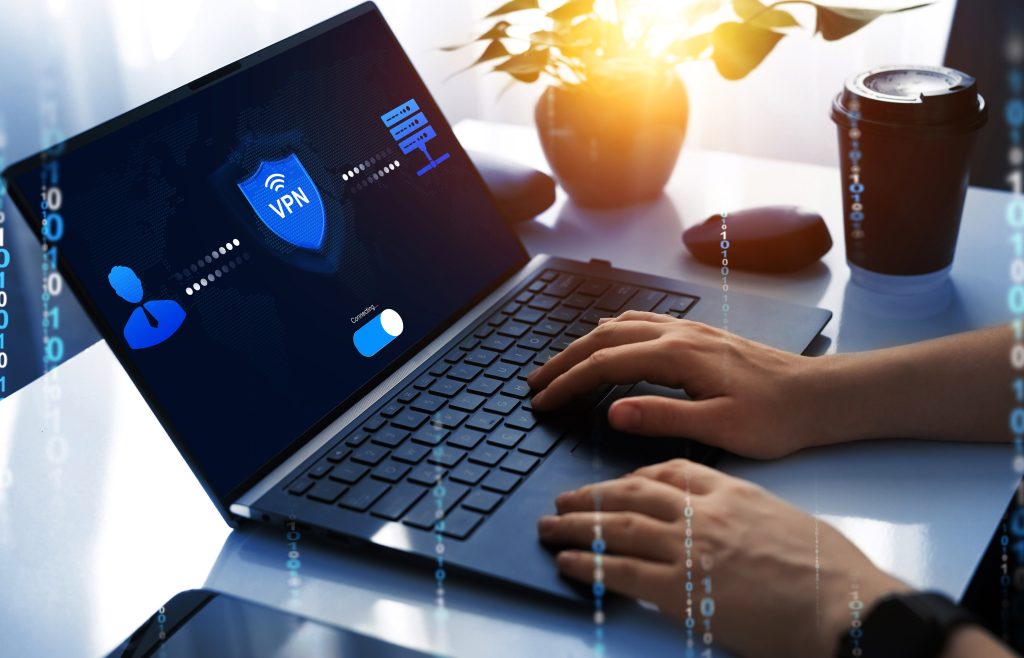
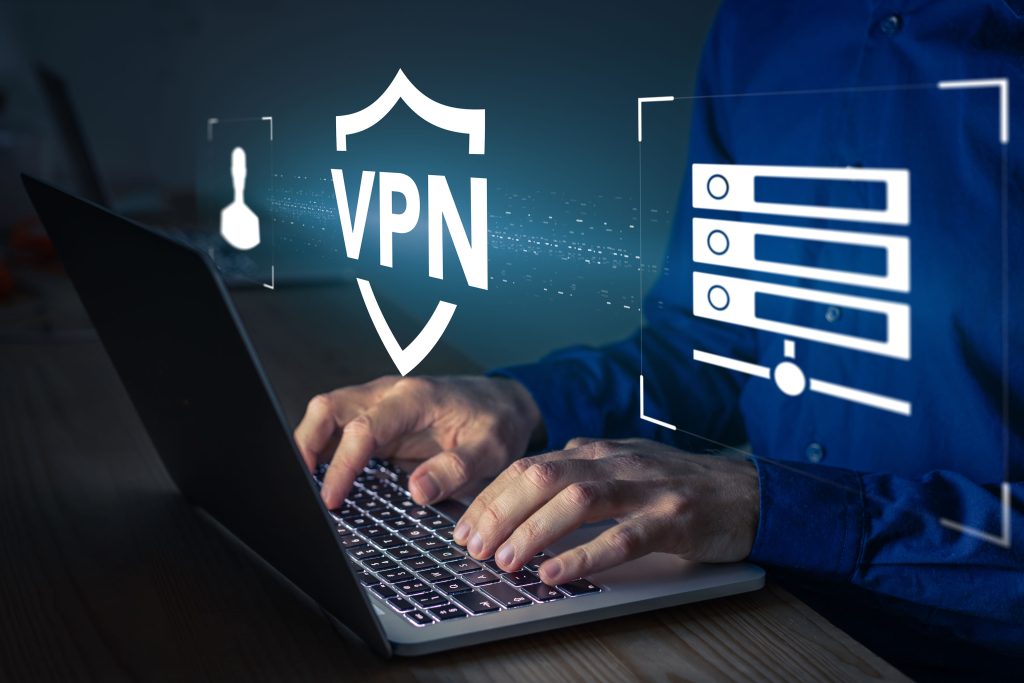
How a VPN Helps You Unblock Reddit
A VPN (Virtual Private Network) creates a secure, encrypted tunnel between your device and the internet. When connected to a VPN server, your online activity appears to originate from a different location. You’re given an IP address allowing you to bypass content filters, firewalls, and regional restrictions.
This means that if Reddit is blocked on your network or in your country, a VPN can mask your traffic, making it look like you’re browsing from a location where Reddit is freely accessible.
How to Unblock Reddit with a VPN: Step-by-Step
- Choose a Reputable VPN Provider
Look for a VPN with strong security, fast speeds, and a no-logs policy. Check out LetMeBy’s top VPN picks here.
- Download and Install the VPN App
Most VPNs offer apps for Windows, macOS, Android, and iOS. This allows for advanced functionality and makes configuring each piece of software you use unnecessary.
- Launch the App and Sign In
Use your credentials to log into your VPN account.
- Connect to a VPN Server
Choose a server in a country where Reddit is not blocked. Ideally, select one close to your actual location for the best download speed.
- Open Reddit
Visit www.reddit.com or use the app as you normally would. The restrictions you noticed earlier should be removed!
Tips for Choosing the Best VPN to Access Reddit
There are tons of choices out there for VPN services, but not all of them are created equal.
Here are some qualities to look for to ensure you choose a VPN that provides an outstanding experience on Reddit:
- Strong Encryption: Look for VPNs using AES-256 encryption for top-notch security.
- No-Logs Policy: Ensures your activity isn’t tracked or stored.
- Kill Switch Feature: Cuts internet access if the VPN drops, protecting your identity.
- Fast Speeds: Essential for browsing image-heavy content and videos on Reddit.
- Effectively Bypasses Restrictions: Choose VPNs known for getting past firewalls, like those used in schools or workplaces.
- Good Customer Support: In case you run into issues unblocking Reddit or connecting to a server.
If you’re ready to look at specific VPN providers, I’ve got you.
These are LetMeBy’s recommended VPNs for unblocking Reddit:

Conclusion
Reddit is more than just another Facebook clone. It’s a hub of community-driven knowledge, advice, and entertainment.
While it’s often blocked at school, work, or in certain countries, these restrictions can be bypassed safely using a VPN. By choosing the right VPN and following a few simple steps, you can unlock Reddit’s full potential wherever you are.
Contrary to the belief of some, Reddit can be a productive tool. Just remember to use your newfound access responsibly, whether you’re diving into r/AskHistorians or checking out the latest memes in search of inspiration.