If you asked a person on the street if cryptocurrency is anonymous many would say yes.
It certainly looks anonymous. A Bitcoin address is a long string of randomly generated letters and numbers. If you were to send a friend Bitcoin you wouldn’t see their name anywhere during the process. And your friend who received it wouldn’t see who it came from.
In actuality, crypto is pseudo-anonymous. Anybody can look up an address on the public blockchain and see a full history of the transactions that have been made. They just don’t know who the people are behind those transactions.
Cybercriminals have been tracked down through their crypto addresses time and time again by blockchain forensics firms that have aided authorities. Thus, while it isn’t straightforward to associate a crypto address with a real person it can be done reliably by specialists.
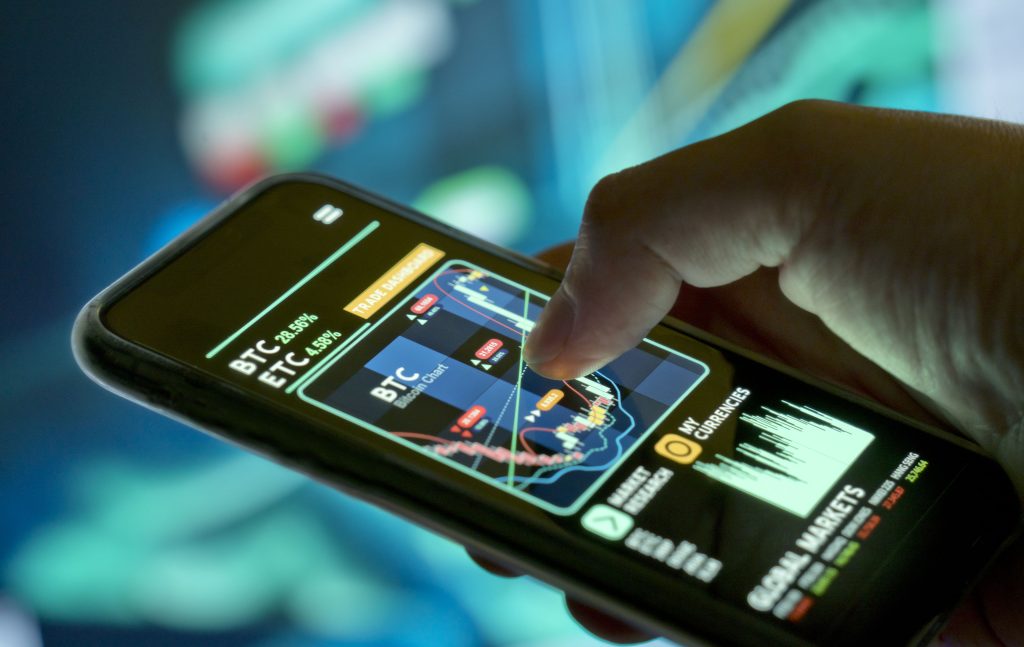
The first thing you need when you get into crypto is an account at an exchange like Coinbase or Kraken. Since they’re the entry point, they’ve been given the role of making sure their customers are real people. Unfortunately, that means online privacy has become a pipedream for crypto investors.
So, Why Do Exchanges Need to Confirm Your Identity Exactly?
Crypto exchanges have been scrambling in recent years to stay compliant with government regulations. Since then, they have become more vigilant about confirming that customers are who they claim to be.
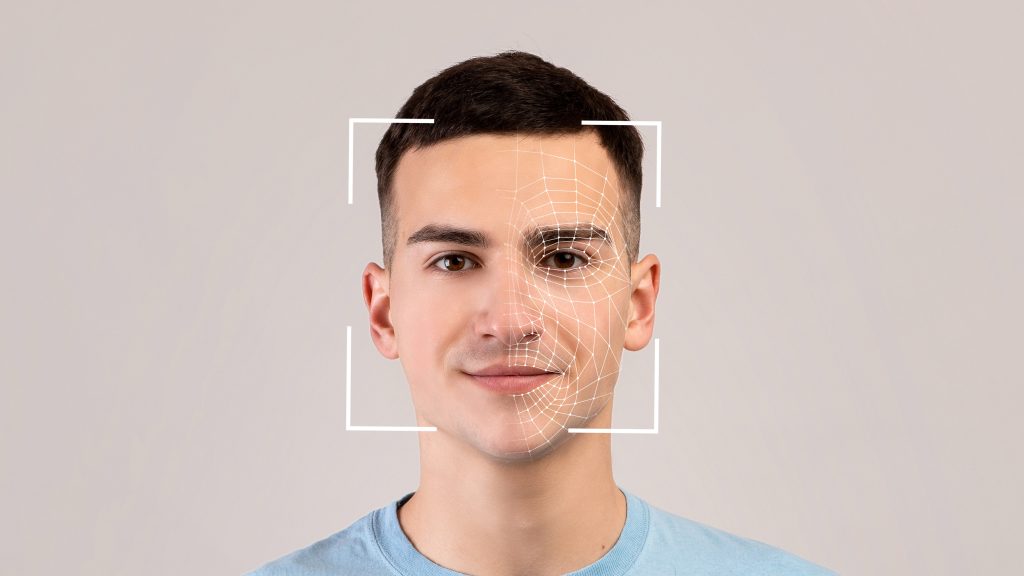
Crypto exchanges routinely ask users to provide ID and take a selfie to verify their identity. Verification could be necessary to complete any meaningful action, such as creating an account, transferring crypto to a wallet on the exchange, or withdrawing crypto.
The reasons for identity verification can be vague or even misleading on their websites.
When faced with the question of why it’s necessary, Binance puts it back on the customer. In their support center, users are met with a list of justifications. They could have accessed their account with multiple IP addresses, not completed face verification, or not enabled two-factor authentication.
Uphold simply tells customers that providing ID and a selfie helps them verify your identity, and keep their platform secure.
To give credit where it’s due, Coinbase wins for transparency on this. They confirm that the primary reason it’s done is for compliance:
“Coinbase uses identity verification in order to comply with Know Your Customer (KYC) laws. KYC is a way to identify and confirm that a customer is who they say they are. It’s a multi-step process that helps prevent the creation and use of fraudulent accounts.”

Have Regulators Taken Away Crypto’s Superpower of Pseudo Anonymity?
We’ve covered that crypto isn’t truly anonymous, but that doesn’t mean its pseudo-anonymity isn’t useful or desirable.
Cryptocurrency provides the ability to make peer-to-peer transactions that are the closest thing we have to digital cash.
Once you put an institution between you and the recipient, it takes away what’s great about crypto. One could argue that it’s even less anonymous than traditional finance when it’s used like that.
The technology itself cannot be regulated. So, exchanges and crypto on-ramps have been given the task of keeping tabs on their customers. If people keep using these services like banks to store their coins, they’ll act more and more like banks.
When Sharing Your Personal Data Isn’t Worth the Risk
The fewer exchanges that have your photo ID, the better. You may trust the company, but people need to consider the possibility of your personal data being intercepted by a nefarious third party.
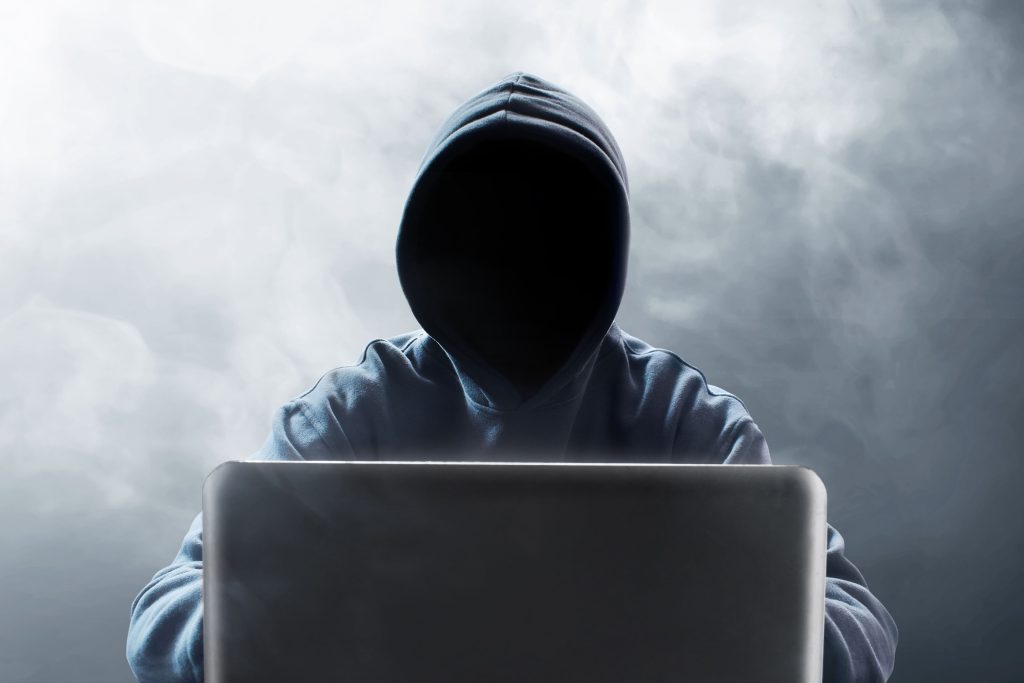
Crypto exchanges are common targets for cybercriminals. And these days, the personal data of crypto investors is a valuable asset.
Be strategic about which exchanges you choose to use. Many have opened accounts to get access to hot new coins and then rarely or never accessed these platforms after the hype settled down. Determine what you need going forward and close the accounts that aren’t necessary.
Get Your Coins Off of Exchanges!
“Not your keys, not your coins” is a popular phrase used by crypto enthusiasts. When you have your crypto on an exchange, guess who controls the keys? Hint: it isn’t you.
Exchanges are not banks. They’re best used as an on-ramp and for trading and that’s it. If there’s a security event, some exchanges attempt to reimburse their customers’ losses, but it’s certainly not guaranteed nor insured by FDIC.
Finding a way to secure your coins and put them into cold storage requires technical chops, knowledge, and in some cases, the right gadgets. Additionally, crypto exchanges typically charge withdrawal fees on top of the network fees associated with the coin. Thus, there are barriers in place that make people put off securing their coins.
Whatever you have to do, it’s almost always worth it. Get your coins off of exchanges. Consider picking up a Trezor One [Amazon] or Ledger Nano S [Amazon] for long-term storage.
Conclusion
Bitcoin was created so people could be their own bank. Instead, exchanges have become the banks for crypto assets at the cost of the privacy of its holders.
It’s time to reconsider how we use crypto exchanges. Customers have to share their ID and take a selfie to confirm their identity. The question is: how safe is our personal data in their hands?